Setting up your blog with Jekyll and Github

Most of us are aware of blogging platforms such as WordPress, while they are very easy to setup and provides simple medium to interact with the platform. But what most people do not know that they come with their own disadvantages. That is a major reason why many of the leaders are looking for other alternatives.
There are many reasons that may drive you away from dynamic blogs like WordPress –
- Cost is high
- Speed is slower
- Less control over the platform
- The free version is very restricted and does not even allows your own domain name
What is the alternative?
While there are many one of my most preferred is using a static site generator like Jekyll with GitHub Pages. GitHub provides excellent way to host site such as your personal projects but can also be used to host Jekyll site without even needing any of the other deployment tools such as Netlify. Also, one of the reasons to choose Jekyll is that it is also very Noob friendly i.e. that it is also very easy to use for the person who does not have much knowledge of web development.
What we need ?
- A GitHub account
- Basic knowledge of git commands(although isn’t necessary )
-
Patience to fix if something doesn’t work
Now first of all we need to setup the environment for Jekyll, To do that we have to setup a full Ruby environment.
Setting up the environment –
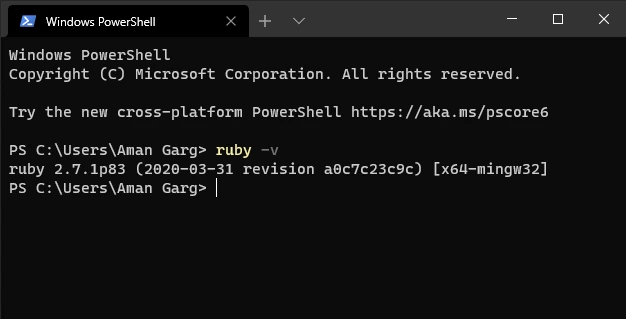
Head over here and download the latest release. Then open the installer and proceed with default parameters. Verify ruby version with command from command prompt.
ruby -v
Since our environment is setup next step is to download theme/ Template for our Blog. There are many websites to download themes from, the one recommended by the official Jekyll docs are -
- jamstackthemes.dev
- jekyllthemes.org
- jekyllthemes.io
- jekyll-themes.com
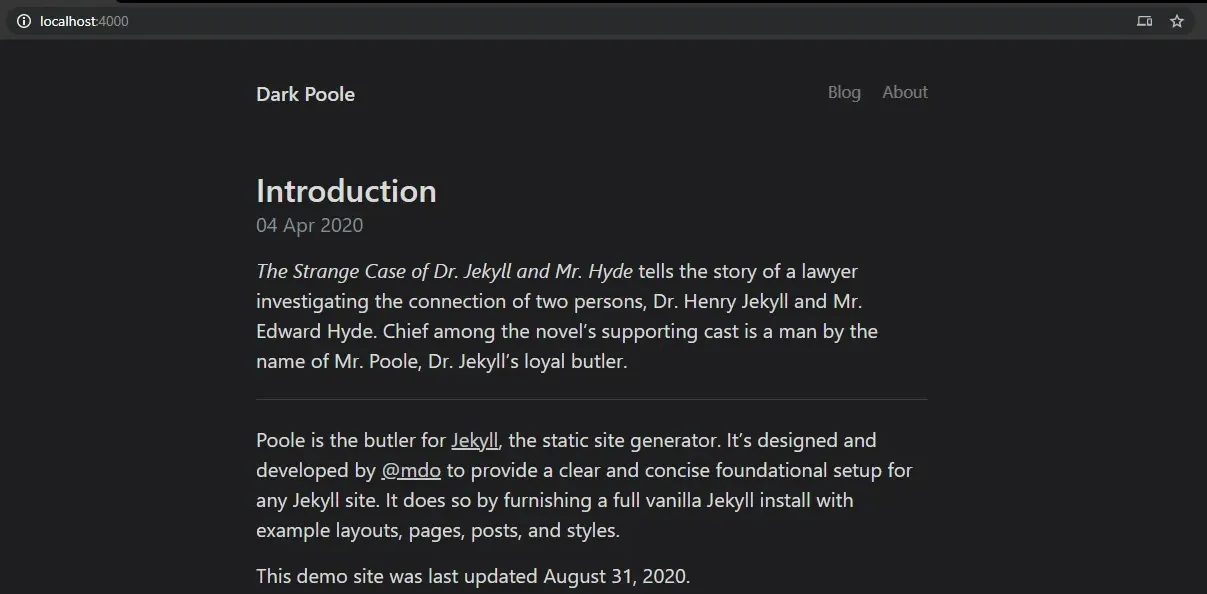
Now head to any of the site you want and download the theme of your choice. For the ease of tutorial we are using this theme.
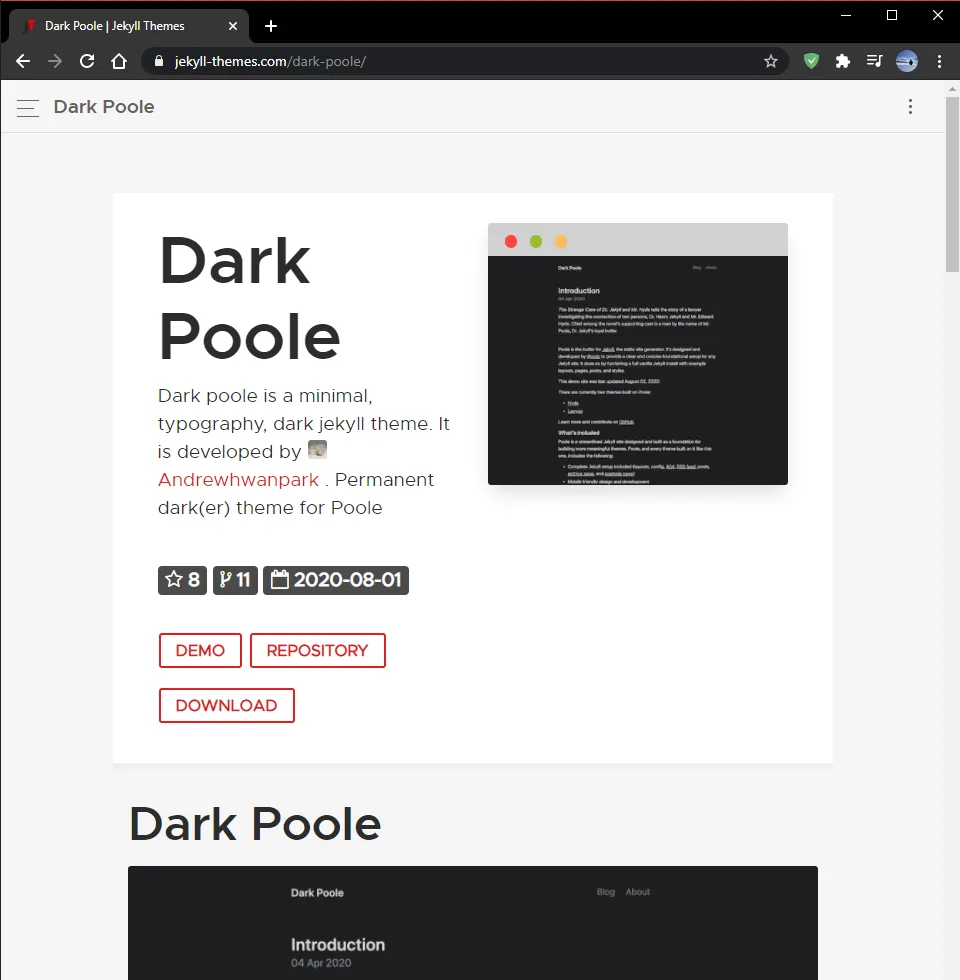
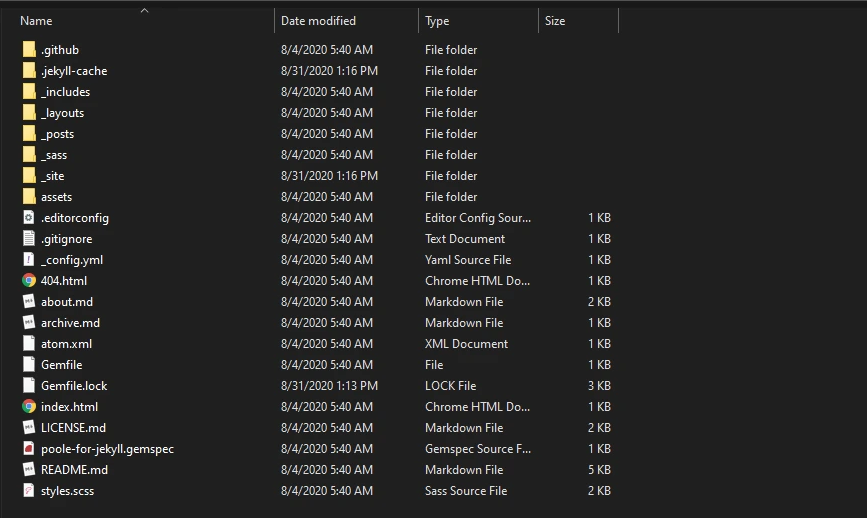
Now click download button as highlighted above and extract the code after downloading, it will look like as shown in screenshot.
Now open a command prompt here by typing cmd in the address bar. After that type following commands in the order shown -
gem install bundler
bundle install
bundle exec jekyll serve --incremental

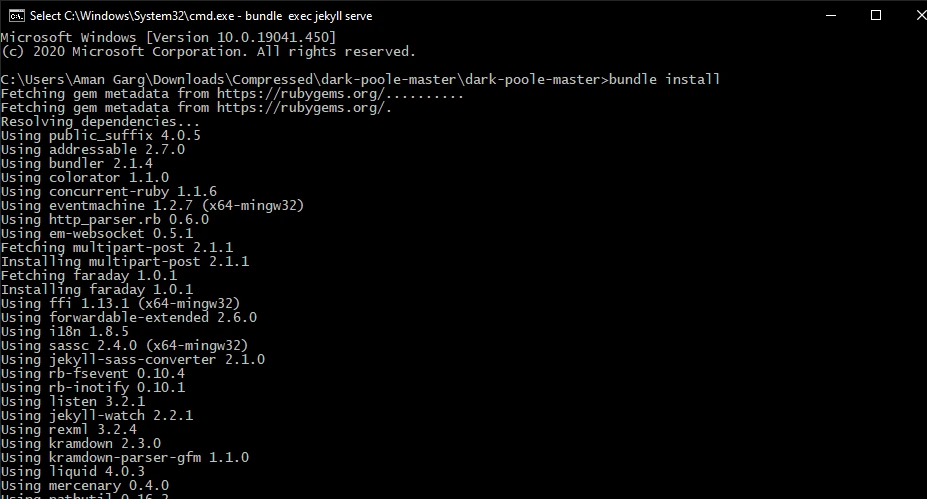
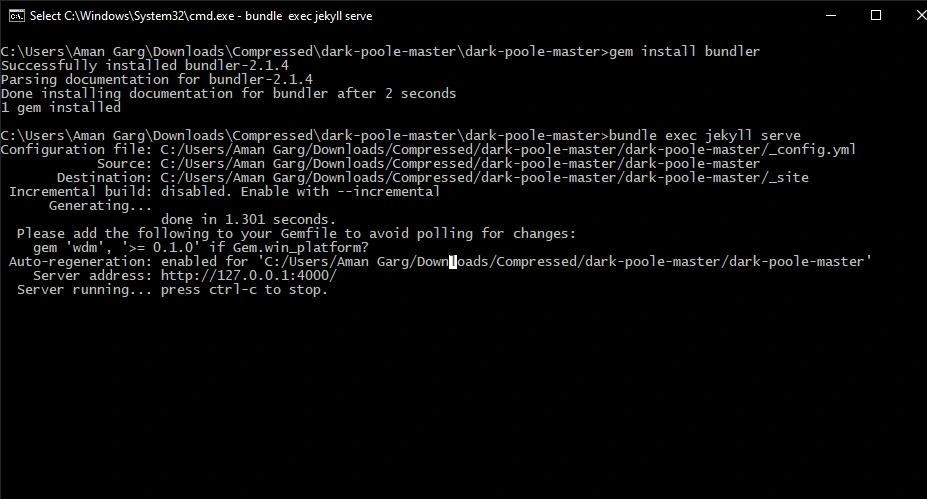
This will run the site locally and we can view the site using the link that will be provided by the last command. This will allow us to view our content locally so that if we want to do some modifications we can do easily. This is useful to make edits locally because if we want to test our changes it can take some time if we push all of our changes to GitHub after each and every edits.
 After making our changes once we are certain we are ready to show our changes so now we have to publish our code on GitHub to do that simply push that folder to a GitHub repo. To do that we will use git commands which we can learn from here on how to publish our folder to a git repo.
For reference the procedure to publish the branch will be -
- Create a branch with branch name as your GitHub username for example suppose your GitHub username is “xyz” then your repository name should be - “xyz.github.io”
-
Upload the Complete local folder contents to the repository online using the methods defined in the procedure from the above mentioned articles.
Remember the branch should be master only because that will be the one published by the GitHub pages
Also what you can some other branch to your local system and work on it and then merge the changes to your main branch. This will make sure that you don’t push the every small changes to your blog
Directory structure of Jekyll -
Now we will highlight the main parts of the structure of a typical Jekyll blog aware folder for easy understanding of the working of this theme.
- **_post is the directory to store all the posts in the markdown format(an easy way to write web articles)
- assets folder contains all the static resources such as images, CSS files, JS scripts, Custom fonts if any used by the site.
- _pages contains pages that doesn’t changes their data for example - Contact page, about page
- _layouts it contains the structural layout of how the pages will be displayed and what content will be shown in the pages once they are generated/ Served by the Jekyll.
Note - the name of your repo is in the format yourusername.github.io this will allow to access your blog directly through this link else it will be shown as yourusername.github.io/website_root/, Also to use Custom Domain we need to use this same format
By this simple tutorial we can have our own simple up and running blog in minutes with no charge, and the best thing is that we will have the flexibility and speed of a static site and we have complete control over every element of the website that we may need to modify. Once we have gained the basic understanding of the structuring and working of the Jekyll, Now we have to understand how to write articles in the markdown. Although its a very easy format to write any documents but it certainly can be tricky to use it for the first time. We will mention all the details in the upcoming article that will be required to write your posts in .
For in-depth we can refer the jekyll docs to see how Jekyll works and how we can even setup Jekyll without using any template the way we like.
Explore more like this

Update your windows apps with yum like a utility in windows
Winget is s a windows package manager that’s bundled with modern windows ( such as windows 11). It lets you manage your windows application in the command line.